Quite a bit of time has passed since my last post and much has transpired. My husband, Vince, and I welcomed a new addition to our family - a bouncing baby boy! He attended his first Civil War Reenactment at one month old when we travelled to Virginia to participate in an immersion event at Welbourne Plantation in October. Although there were many challenges to attending the event with a one month old baby, there were also many wonderful memories made!
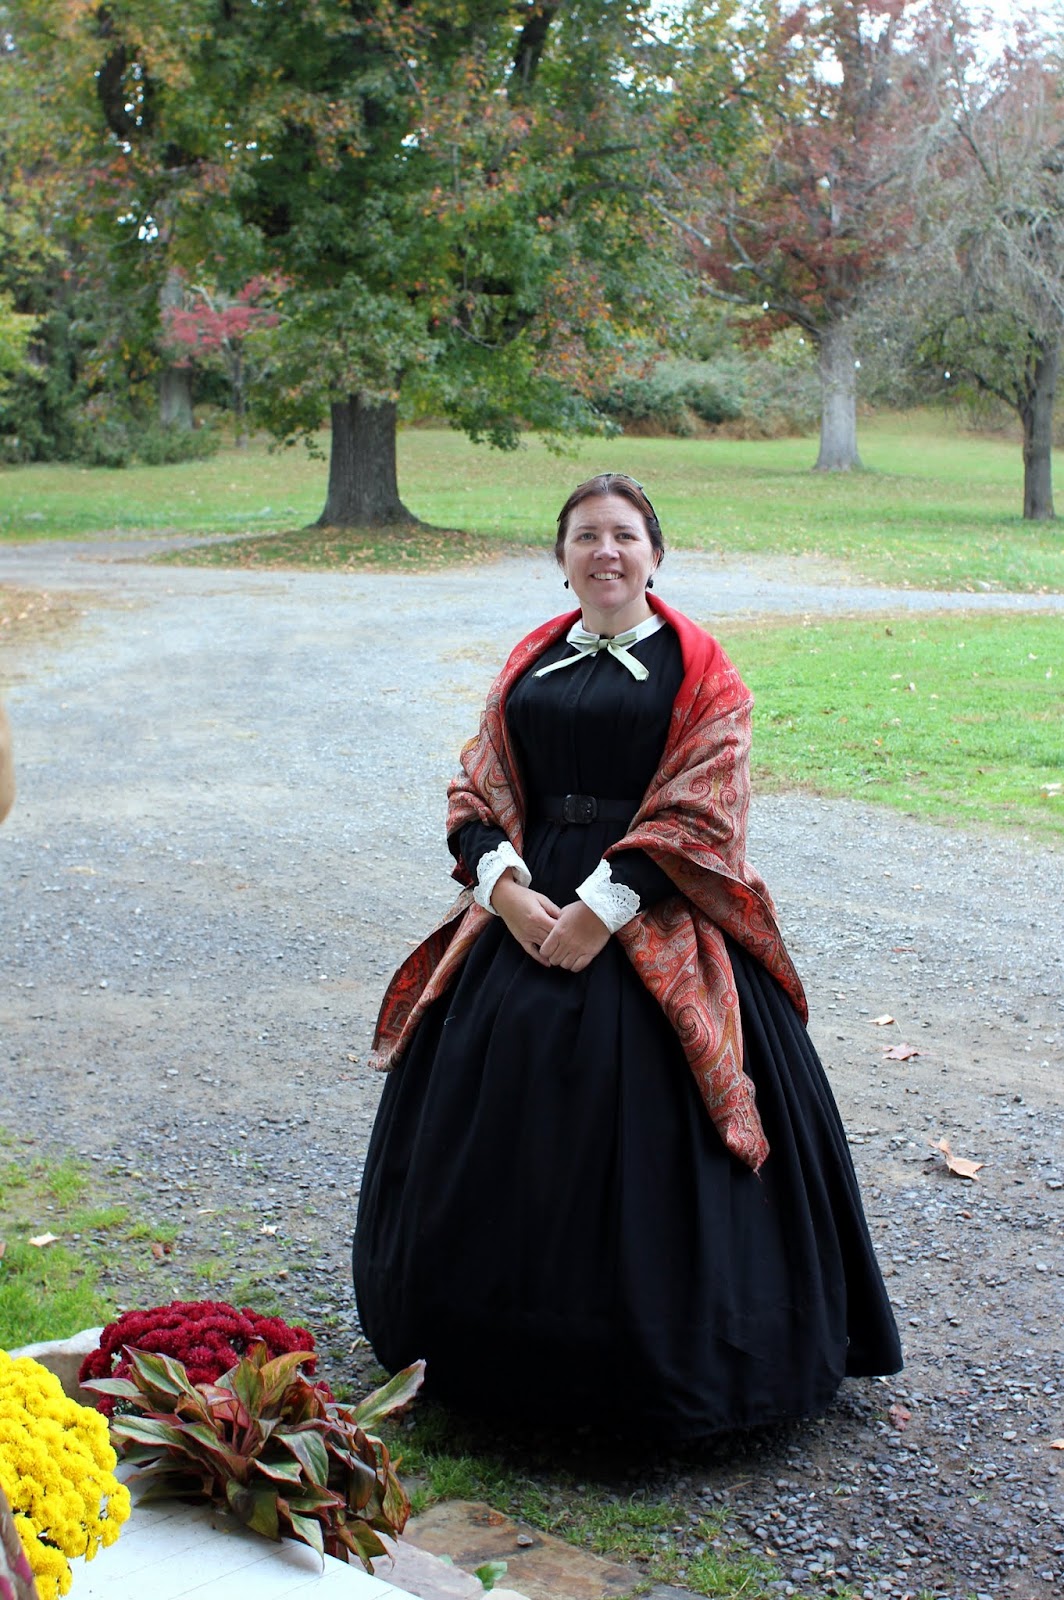
This year Welbourne participants portrayed Middleburg, VA residents in the year 1860. I prefer the look of mid to late war clothing, so most of my dresses represent those years. Therefore, I knew that I needed to make clothing that would be appropriate for the year just before the war. Since I didn't know what size I would be just one month after giving birth and I needed something that would allow for easy breastfeeding, I chose to make just one garment, a black silk basque bodice that could be easily removed for nursing baby and could be worn with skirts that I already owned. I had long wanted to add a black silk basque to my wardrobe so it was a treat to finally cross that one off my to-do list! I plan to go back and take in the bodice and finish a few details before the next time I wear it.
The best part of attending baby's first Civil War event was researching and creating his clothing! It was so enjoyable to research a new topic. I've been saving some of the images that I've come across to a Pinterest board for 1860s Children's Clothing. Victorian children's clothing has so many beautiful details to ooh and aah over!
I found the blog A Day in 1862 particularly inspiring for recreating 1860s children's clothing. Amy created some lovely clothing for her little girl a few years ago and has detailed information about each item she created. Danielle's Costume Diary also has some great research and beautiful reproductions of infant attire. Romantic History's Sarah Jane has created countless children's clothing items over the years and shares some of her patterns and tutorials on her blog. She also has a very helpful article: Breastfeeding in a Victorian Corset.
Middleburg, Virginia residents in the 1860s were very well-to-do, and I wanted the items that I created to reflect that. White garments were common for infants because they could be sun bleached to remove stains. Clothing for baby boys was essentially the same as that worn by baby girls.

The under most layer worn was a chemise. I drafted my own pattern inspired by the original chemise above from c.1850-59.
Over the chemise a pair of corded stays were worn. The petticoats could be attached to the stays. I created the stays from white coutil and based them off of the stays in the Elizabeth Stewart Clark Infant Linens Pattern.

Here's the little guy modeling his undergarments. Since I was creating the garments before he was born and didn't know what size he would be at one month old, I chose to add twill tape ties to the straps at the front of the stays so that they could be adjusted to fit. Although I made the stays from the smallest size pattern they were still too big so I added tape ties sewn to each side of the center back closure to tie the stays on. The ties worked out really well in both places.
Two petticoats were worn to provide fullness to the dress skirt and warmth for baby.

The infant gown was created from the 1868 Frock for Infant Under 1 Year Old pattern by Ageless Patterns (purchased from Patterns of Time on Etsy). Since many reenactors use Elizabeth Stewart Clark's patterns I was curious to try some other available patterns for baby clothing to see how they compare. I was happy with the overall result of the garment but disappointed with the pattern. The pattern lines were drawn freehand without the use of a ruler. The sewing instructions were limited. Neither of these things bothered me too much. But, the sleeve pattern didn't look at all like the sleeve in the original image and seemed like it would produce a short sleeve rather than the long sleeve pictured. And, a pattern piece was missing - the neckline inset. I was able to draft my own sleeve and inset patterns but I would consider this a pattern to be used by more experienced sewers/pattern drafters because it wasn't easy to draft those pieces. It might be easier to create the pattern pieces if you have a baby to take measurements off of...I was guessing at sleeve length and width and neck circumference since I hadn't had my baby yet. I was able to use measurements taken from a modern baby sleeper to draft the pattern pieces. I liked the fitted look of the gown bodice, the trim style, and the skirt fullness. The back of the gown has several drawstring casings to allow the garment to fit baby for several months. The pattern pieces offer only one size for the gown. The gown created from this pattern fit my 8 lb. one month old and also still fit him at one year old as the pattern suggested. I trimmed the gown with topically applied vandyke eyelet trim larger in scale but similar in style to the trim on the original rendering. Many original infant gowns were made of white pique, and I chose to use it because it is typically a slightly heavier weight cotton, perfect for the fall weather in Virginia.

Above is the original rendering of the 1868 infant gown.
Ageless Patterns offers several other Victorian infant patterns that might be nice for Civil War era reproductions. Some of these are past the dates of the Civil War era but not inconsistent with the infant clothing of the time.
Ageless Patterns 1860s Baby Clothing Patterns:
I hope to post more photos of reproductions and research on children's clothing of the 1860's.